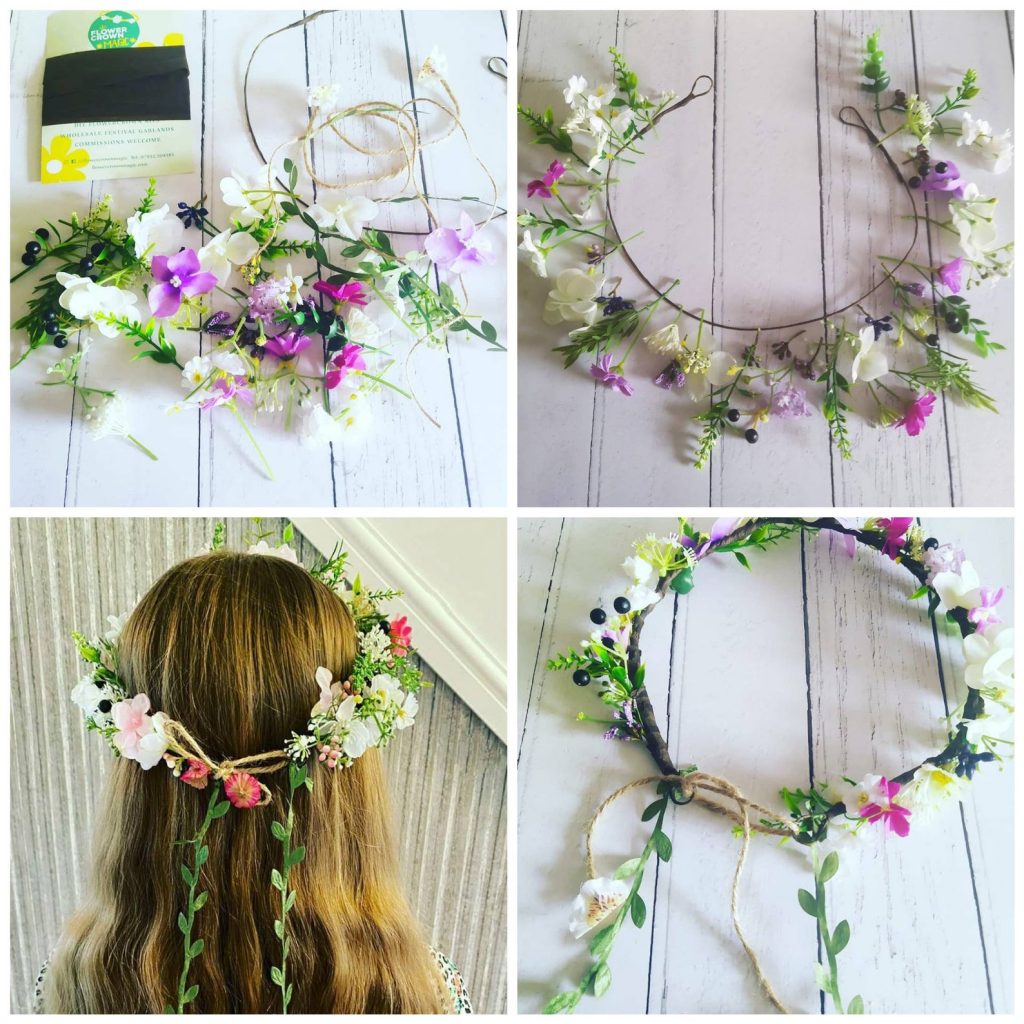
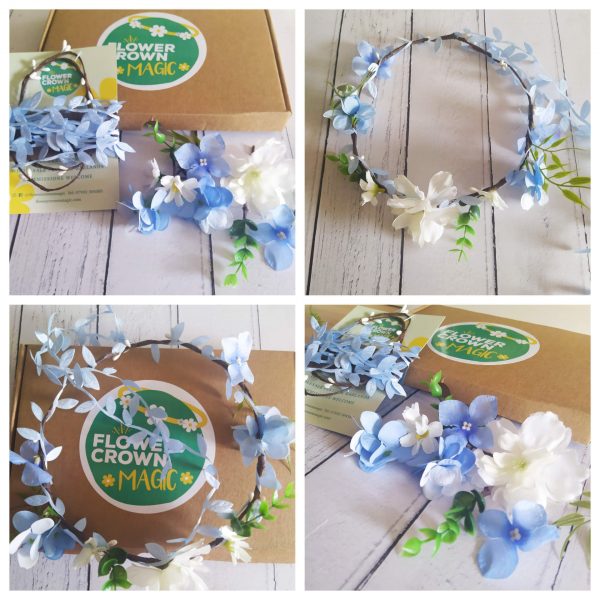
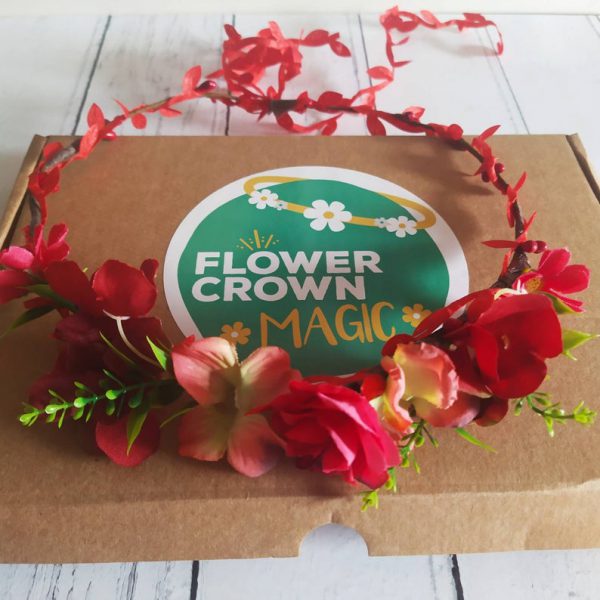
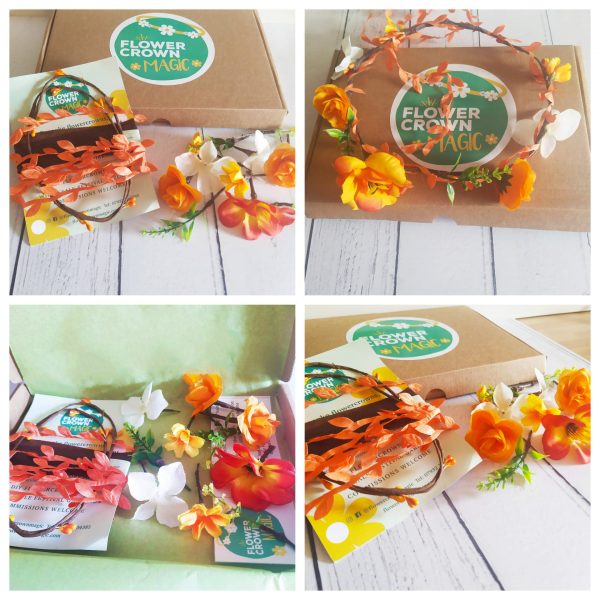
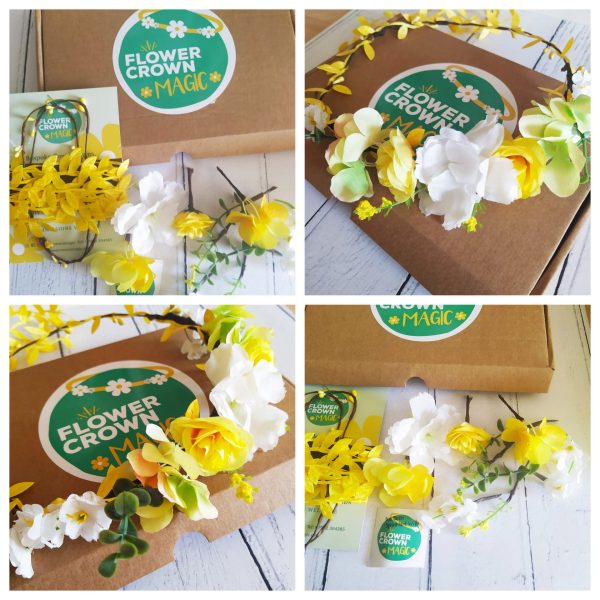
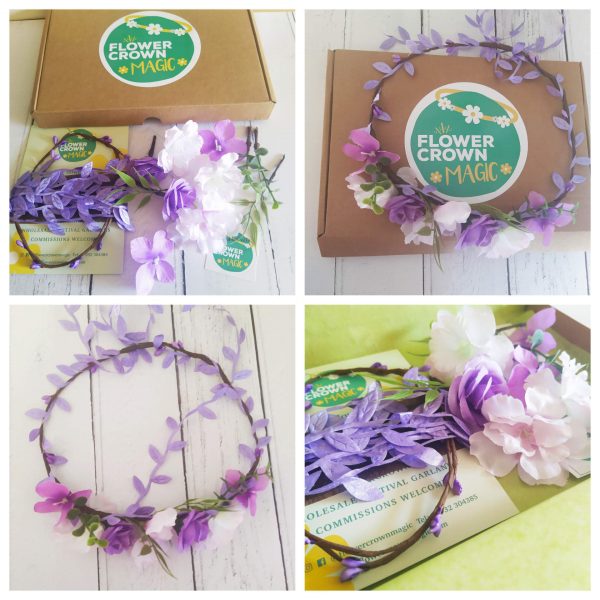
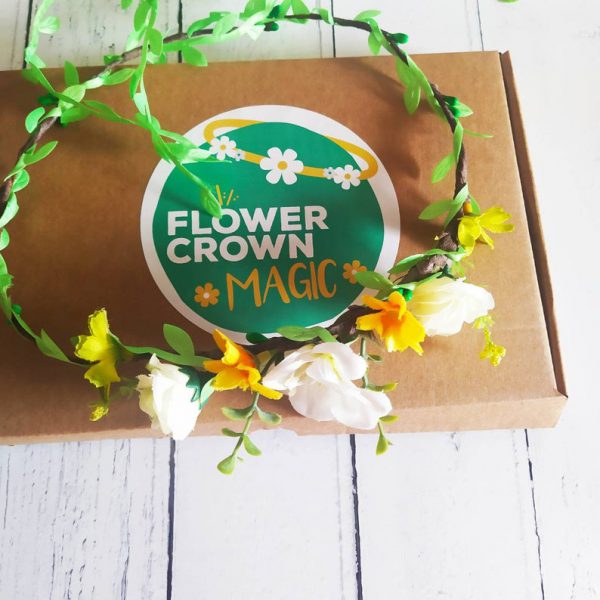
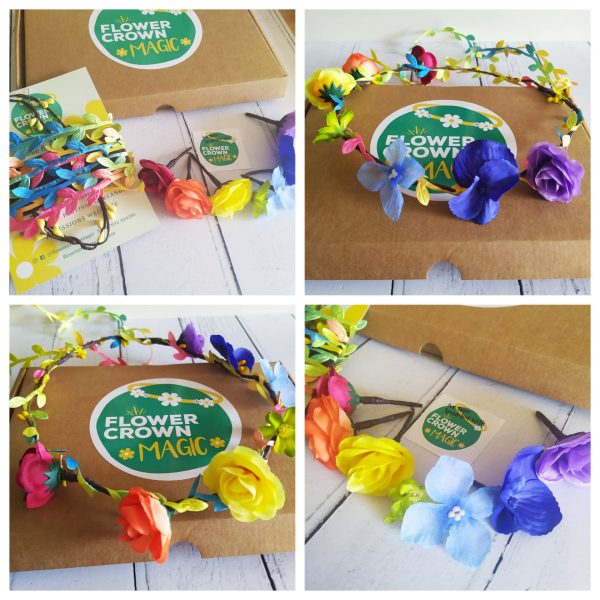
Flower crowns are a perfect way to complete your ensemble for a wedding, festival or any day in between! If you’re looking to make a pretty flower crown that reflects the beauty of the season and lasts a long time you can even use artificial flowers.
Learn how to make a flower crown that stands out from the crowd!
DIY flower crowns are easy to make and maintain. Our step-by-step guide will show you how to make a simple flower crown to wear or give away as a gift! Before you get started on this flower crown DIY, take a look at what materials you’ll need.
- Floral tape – Floral tape is best for wrapping flowers together. This tape can easily blend in with your flowers and greens since it comes in shades of green, brown and other natural colors.
- Scissors / Clippers– Keep a sharp pair of scissors or clippers handy to cut your flowers, wires and tape.
- Floral Wire – This wire is sometimes referred to as pliable twine, grapevine wire or vine wire. This is used as a comfy base for your crown.
- Satin Leaf Ribbon / Leaf Vine Trim – perfect for wrapping around your flower crown and creating a flower crown trail.
- Rattan String – Ideal if you don’t want a leaf ribbon trim. Rattan string wrapped around your flower crown gives you a rustic flower crown look.
- Artificial Flowers and greenery – Cut stems to about 2 to 3 inches to make it easy to wrap the flowers around the wire. Get a mix of statement and filler flowers to vary your textures and design.
DIY Flower Crown Instructions
Making a flower crown can be easy and fun. Our step-by-step guide will show you how to make a flower crown magic flower crown to wear or give away as a gift!
Step 1 – Arrange Your Flowers
Arrange your flowers in your chosen design. We suggest that you start with the largest flower in the centre and then work out to the edges with three flowers on each.
The Flower crown has better structure if you place the smallest flowers at the edges of the design
Step 2 – Measure Your Head
Measure your head with the wire and hold the ends together where it meets. Consider where you would like to where the crown, i.e. forward on the brow or higher on the head.
Hold the wire together making the shape shown on the image. With the ends crossed over each other twist the ends over the wire until you have a complete circle, keeping the wires as flat as you can
Pop this back onto your head to ensure that it fits and that it sits where you wish to wear your Flower crown.
Step 4 – Getting Your Tape Ready
Wash your hands to remove any creams or lotions that you may have used as these will affect the adhesion of the tape.
Open the self-adhesive florist’s tape and tear a piece off. NB the tape will not tear if you pull it, it will just stretch. It is better to tear in a downwards motion.
Rub the tape between your finger and thumb. You will feel it start to go sticky.
The impregnated glue is activated by the warmth and pressure from your fingers.
Wrap the end of your tape over the end of the wire and give it a squeeze. It should now be attached. Continue to wrap and squeeze, keeping the tape as flat as possible and working in a diagonal motion, until you have used the piece of tape.
Repeat this on the other side of the wire joint. You should now have a complete circle shape with both ends stuck down and the joints concealed. This area (where there are no beads) will be at the front of your flower crown
This area (where there are no beads) will be at the front of your Flower crown.
Step 5 – Adding Your Flowers
Tear off a piece of tape and have this ready to use. Remember to rub the tape to make it sticky.
With the beads pointing upwards, take your first flower and lay it against the last bead on the front section of the crown.
Pressing the stem of the flower attach the piece of tape as close as you can to the head of the flower.
Using the tape as before, wrap diagonally over both stem and the wire until the stem is fully covered. Remember to keep the tape as flat as possible and press between each time you wrap in order to activate the glue.
Step 6 – Adding More Flowers
Repeat the process with the next flower. Place the flower next to the first one so that the stem is covered by the flower head. Don’t push up too close or the completed design may appear crushed.
Continue to add flowers until you have added all 7 flowers.
If you come to the point where the beading restarts you can either work over or around the beads or you can simply remove them by pulling them out.
Step 6 – Adding the Leaf Vine
Take the piece of leaf vine trim and place the end as closely as you can to the last flower head in the design.
Using a small piece of the tape, attach the ribbon to the wire. Using the beads as a guide, wrap the trim around the wire working your way around it.
When you come to the flowers on the front of the crown, wrap the trim in-between them.
Attach the end trim at the point where you attached the start of it. If the trim is too long, cut off the excess.
Congratulations! Your beautiful flower crown design is now complete
All that remains is for you to put on your Flower crown and take a selfie!
What flowers are best for a flower crown?
The flowers you require for your flower crown depends on what type of flower crown you’re creating.
Boho Flower Crown
A mix of bright and cheerful colours such as purple, violet, red, cream and white complete with berries and sprays can make a crown a must have for any boho princess.
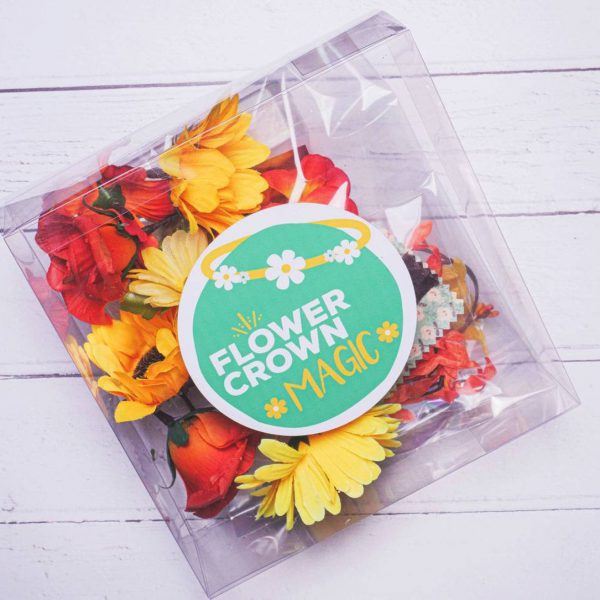
Check out our boho DIY flower crown making kit, containing everything you need to make a beautiful boho inspired flower crown. The boho flower crown kit comes with a step-by-step instructions leaflet.
